Host: W4GYL
George Lee
Hornets Nest Net Notes:
June 16, 2026
Notes from alternative medications discussion Download Here
April 7, 2026
Jerusalem artichoke aka Sun chokes
You may be surprised to learn that Jerusalem artichokes aren’t artichokes at all, and they don’t even come from Jerusalem. Confusing, right? Some say the flavor of a Jerusalem artichoke is notably sweet, earthy, nutty, and slightly reminiscent of an artichoke flavor, and the texture, when cooked down, is artichoke-like as well. This is likely how they got their name
nutrition and health benefits Jerusalem artichokes are sweet, nutty, and potato-like, with even more health benefits then their root vegetable cousins. They’re very high in vitamins, potassium, iron, and fiber. They resemble a small sunflower and grow prolifically once they get started. No need to dig and store, leave them in the ground until ready to eat.
Watch the Back to Eden documentary film HERE
BACK TO EDEN is a documentary film that shares the incredible story of American gardener and arborist Paul Gautschi and his lifelong journey learning how to get back to the garden of Eden. The documentary, streaming online for free, has received over 50 million views in every country in the world. The film ignited a world-renowned regenerative organic gardening movement that regenerates the soil and restores soil biodiversity which results in higher yields with less input, all while sequestering carbon.
Back to Eden Gardening is a regenerative organic gardening method that practices no-till and organic growing principles. The permaculture technique is simple -- cover the soil. Growing food and plants with industrial techniques has devastated our climate and planet. That’s why we’re empowering gardeners to practice regenerative organic gardening principles. These practices reduce greenhouse gas emissions and could help trap more carbon than conventional gardening and agriculture.
Buy the Book Here:


March 31, 2026
Please click image to download

March 24, 2026 Communication & Anntenas
Please click images to link out to original source sites and additional information:


March 17, 2026
YouTube Channel Discussed:
The Watch Floor (Sarah Adams)
Click to watch BE SMART : Why I Avoid Airplanes Now
March 3, 2026 and March 10, 2026- Resources from The Hornet's Nest Net
Click for access:
Stop the Bleed Course
Click to search for an in person class: Stop the Bleed
Click for access:
Get Emergency Alerts for Charlotte NC & Surrounding Area
Click for access:
Get Emergency Alerts for Asheville Area
Click for access:
Get Emergency Alerts for Gastonia NC Area (Code Red)
Click for access:
Get Emergency Alerts for South Carolina (Code Red)
Click for access:
Prepare a plan - NC
Click for access:
Prepare a plan - SC
Click for access:
Workshops via Zoom for Natural Solutions
October 21, 2025 - Resources from Net
Download Grid-Down Soil Prep Checklist: HERE
Topic: Prepping the Soil for a Grid-Down Garden or Farm
When the power goes out and the trucks stop rolling, the health of your soil becomes the real measure of wealth. In this episode of The Hornet’s Nest, George Lee dives into how to prepare your garden or farm soil for long-term food security — even if the grid goes down. This isn’t about panic; it’s about practical preparation. With the right mindset and a bit of elbow grease, your soil can become your most valuable asset.
Why It Matters
“Grid-down” doesn’t have to mean hopeless — it means ready.
Your soil is your long-term food insurance. When you nurture it, it keeps producing no matter what happens above ground.
Healthy soil is alive — a microscopic city of bacteria, fungi, insects, and worms working 24/7 to turn waste into nutrients. If that underground ecosystem is strong, your garden can survive power outages, fertilizer shortages, and supply-chain hiccups.
The Mindset Shift: Soil Is Alive
Real gardening starts below the surface.
Soil isn’t just dirt; it’s a living system. Every handful of healthy soil holds billions of organisms that recycle nutrients, store carbon, and retain moisture. Feed them, and they’ll feed your plants for years.
You’re not just growing plants — you’re farming microbes. Treat them like livestock: feed them, protect them, and they’ll reward you in abundance.
Assess What You’ve Got
Before you can fix your soil, you’ve got to understand it. Skipping this step is like baking without measuring — you might get lucky once, but it won’t be consistent.
Jar Test – Discover Your Soil Texture
Mix samples from several garden spots.
Fill a mason jar halfway with soil, top with water and a drop of dish soap.
Shake well; let settle 24 hours.
Sand sinks first.
Silt forms the middle layer.
Clay settles last.
Reading it:
Mostly sand → good drainage, poor moisture.
Mostly clay → rich but tight; loosen with compost.
Roughly one-third each → loam, the ideal balance.
Vinegar & Baking Soda pH Check
Place dry soil on a plate; pour vinegar → fizz = alkaline.
Mix soil and water; sprinkle baking soda → fizz = acidic.
No fizz → neutral (≈ 6.5–7).
Adjust with ash or limestone (to raise) or compost/coffee/pine needles (to lower).
Worm Count – Life Beneath the Surface
Dig one cubic-foot section and count:
5 + worms: thriving.
1–4: fair; needs more organic matter.
0: lifeless; add compost and mulch.
Worms are your living soil-test kit — their presence proves biology is active and healthy.
Breaking Ground & Site Preparation
This is the missing link between testing and feeding — the hands-on work of choosing, clearing, and shaping your future garden.
Choosing the Spot
Sun: 6–8 hours of direct light; morning sun helps dry dew and fight mildew.
Wind: Use trees, fences, or sheds as natural windbreaks.
Drainage: Dig a hole, fill with water; if it drains within 4 hours, you’re good.
Access: Keep it near your home or barn so daily care is realistic.
Clearing & First Turn
Mow or scythe tall grass to ground level. Lay down cardboard or thick newspaper to smother roots.
If using machinery, make one shallow till or broad-fork pass—don’t over-till; that destroys structure and microbes.
Hand tools: spade, mattock, broadfork. The goal is 8–12 inches of loosened soil, not fine powder.
Dealing with Sod
For pasture or lawn conversions:
Mow tight and tarp 4–6 weeks (solarize).
Rake out dead grass for compost.
Add 2–3 inches of compost or aged manure before planting.
Solarizing uses sun heat to kill roots and weed seeds, letting you start clean without chemicals.
Borders & Beds
Frame plots with logs, timbers, or rocks — they define space and hold mulch.
Raised beds (8–12 inches high) drain faster and warm earlier in spring.
For larger systems, use 30-inch beds with 18-inch paths — the most efficient layout for hand tools.
Fixing Compaction
A broadfork is your friend: it lifts and cracks compacted soil without flipping layers.
Add coarse compost, leaf mold, or rotted wood chips to keep it loose.
Designate permanent walking paths to protect structure.
Amending Structure
Sandy → add compost or coir for water retention.
Clay → add coarse sand, compost, and leaf mold for airflow.
Rocky → screen top 6 inches or build raised beds.
These materials rebuild soil texture naturally, avoiding store-bought conditioners.
First Water Test
Water deeply once after prepping to settle air pockets. Wait two days; check for puddling or crusting.
If it puddles, you need more organic matter or slope correction; if it drains instantly, add mulch to hold moisture.
Rest & Cover Crop
If you’re prepping in fall, seed rye, clover, or vetch to cover bare soil. In spring, lay straw mulch or sow quick-growing daikon radish to break compaction. Cover crops act like living mulch. Their roots feed soil microbes by releasing sugars (root exudates) that attract bacteria and fungi. When they die back, those roots decompose into organic matter, improving structure and preventing erosion by holding soil in place through winter rains.
Feed the Soil Now
Healthy soil takes time to build, so start early.
Add compost, manure, leaves, grass clippings, and biochar.
Try lasagna layering, deep mulch, or hugelkultur beds using rotting logs to store moisture.
Do it now and by spring you’ll have dark, crumbly soil bursting with life.
Composting for Independence
Compost is your fertilizer factory — and you already covered it last week, so this can be a short refresher. Keep a mix of 3 parts browns to 1 part greens, damp but not soggy, and turn it every few weeks.By spring, you’ll have a steady supply of natural plant food. Compost isn’t just nutrients; it’s inoculation. It introduces beneficial microbes that jump-start soil life wherever you spread it.
(See expanded notes from 10/14 Net below where we covered composting in depth)
Water & Erosion Control
In a grid-down world, every drop matters.
-Mulch deeply to cut evaporation.
-Shape swales and trenches to catch runoff.
-Use raised barrels for gravity-fed irrigation.
-Practice with hand pumps or graywater systems before you need them.
-Mulch and swales mimic nature’s forest floor — they slow rain, let it soak in, and reduce topsoil loss. The result: less watering, less erosion, more resilience.
Fertility Without the Store
Nature provides all the fertilizer you need:
- Wood ash: potassium for strong roots (use sparingly).
-Eggshells: calcium for sturdy stems.
-Epsom salt: magnesium to help chlorophyll.
-Comfrey or nettle tea: nitrogen and trace minerals.
These natural amendments feed soil organisms first. When microbes digest them, they release nutrients slowly and evenly—no chemical shock, no runoff.
Tools & Seeds That Last
When the power’s out, hand tools shine.
Keep: a broadfork, hoe, spade, trowel, wheelbarrow, buckets, and heirloom seeds.
Hybrid seeds may give one good crop but won’t breed true. Save open-pollinated varieties and join local swaps to keep diversity alive.
Putting It All Together
Healthy soil equals independence. Start small—one 10×10 plot can feed a family when managed well.
Feed your soil year-round, mulch, compost, save seeds, and let nature handle the heavy lifting.
Explain: Regenerative soil care builds year-to-year momentum. Each season’s roots, leaves, and microbes create richer, darker soil — which holds more water, resists drought, and grows more food with less work.
The Takeaway “You can’t grow food in dead dirt. Feed the soil now, and it’ll feed you when it counts.”
— George Lee, W4GYL


October 14, 2025 - Resources from Net
Download Composting PDF NOTES: HERE
Topic: Composting for Beginners: Building Your Soil This Fall & Winter
Composting turns everyday kitchen scraps and yard waste into rich, living soil. Starting in fall and winter
gives you a head start—by spring, your garden will thank you with healthy, vibrant growth.
Why Compost?
• Reduces kitchen and yard waste.
• Improves soil structure and moisture retention.
• Provides natural nutrients—no chemicals needed.
• Saves money on soil and fertilizers.
Composting Basics
Composting works best with a mix of 'greens' and 'browns' to balance nutrients and keep your pile
active. Aim for about 2 parts browns to 1 part greens. Keep the pile moist (like a wrung-out sponge) and turn
occasionally for airflow.
Greens (Nitrogen-rich): Fruit & veggie scraps, coffee grounds, grass clippings.
Browns (Carbon-rich): Dry leaves, straw, shredded paper, cardboard.
Getting Started This Fall
• Choose a spot or bin—backyard pile, tote, or compost tumbler.
• Add alternating layers of greens and browns.
• Avoid meat, dairy, oily foods, and pet waste.
• Save fall leaves—they’re excellent compost material!
• Cover your pile with straw, cardboard, or leaves to hold warmth through winter.
Troubleshooting Tips
• If it smells: add more browns and mix.
• If it’s dry: sprinkle water or add damp leaves.
• If it’s not breaking down: add greens or turn for more air.
• Cover new scraps with browns to discourage pests.
When Is It Ready?
Finished compost is dark, crumbly, and smells earthy—not like food. Mix it into garden beds or use it as
top dressing in spring for rich, healthy soil.
Start small this fall. Save your scraps, layer your leaves, and let nature do the work. By spring, you'll
have 'black gold' ready to nourish your garden!
Links:
EPA Composting at Home
https://www.epa.gov/recycle/composting-home
Video mentioned:
October 7, 2025 - Resources from Net
20 Best DIY Self-Watering Container Ideas
https://balconygardenweb.com/14-best-diy-self-watering-container-garden-ideas/
How to Start a No-Till Garden: A Complete Step-By-Step Guide
https://donotdisturbgardening.com/how-to-start-a-no-till-garden-a-complete-step-by-step-guide/
No Dig Gardening 101: How To Start A No Till Garden
https://getbusygardening.com/no-dig-gardening/
Download PDF NOTES: HERE
DIY Self-Watering Container Gardens
Save water. Save time. Grow healthier plants.
What Is a Self-Watering Container?
A self-watering container stores water in a hidden reservoir beneath the soil. Moisture rises through a
wick or the soil itself, giving your plants just what they need—no daily watering required!
Key Benefits:
- Less frequent watering
- Consistent soil moisture
- Stronger root growth
- Reduced water waste
Basic Components:
1. Reservoir – holds the water below
2. Wick – fabric, rope, or soil that draws water upward
3. Overflow hole – prevents flooding
4. Potting mix – lightweight and breathable
5. Plant chamber – where roots grow
3 Easy DIY Options
1. Plastic Bottle Planter - Cut a 2-liter bottle in half. Invert the top into the bottom. Thread a fabric wick through the bottle neck. Add soil and a small plant on top, water below. Perfect for herbs, kitchen windows, or classroom
projects.
2. Bucket-in-Bucket System
Nest two 5-gallon buckets. Drill holes in the upper bucket’s base and insert a pipe or cup with wicking
material. Add a side overflow hole. Fill with soil and plant vegetables. Great for patios or balconies.
3. Foam Cooler or Raised Box
Use a Styrofoam cooler or wooden box lined with plastic. Create a gravel layer for the reservoir, then
top with soil. Insert a fill pipe for easy watering. Ideal for small veggie gardens.
Maintenance Tips
- Refill weekly
- Clean monthly
- Keep wick touching both soil and water
- Block sunlight to avoid algae
- Include overflow holes
Best Plants
■ Herbs: basil, parsley, mint
■ Veggies: tomatoes, peppers, lettuce etc
■ Flowers: marigolds, petunias
■ Skip: succulents and cacti
Sustainability Bonus
Reuse bottles, buckets, and coolers. Cut water use by up to 50%. Keep your garden thriving—even on
vacation!
Video mentioned:
September 30, 2025 - Resources from Net
Ultimate list of Seed Catalogs - https://www.thegardenglove.com/top-garden-seed-catalogs/
How to Grow a Three Sisters Garden:
Cornell Cooperative Extension https://gardening.cals.cornell.edu/lessons/curriculum-classics/the-three-sisters-exploring-an-iroquois-garden/how-to-plant-the-three-sisters/
Ariticle from Native Seeds - https://www.nativeseeds.org/blogs/blog-news/how-to-grow-a-three-sisters-garden
Article from Farmer's Almanac: https://www.almanac.com/content/three-sisters-corn-bean-and-squash
NOTES:
Three Sisters gardening often works best with flint, dent, or flour corn varieties as they are harvested at the end of the season. If you choose sweet corn you'll have to carefully make your way through sprawling squash plants to reap your harvest
When should I plant the Three Sisters?
Plan and select a site – plant your three sisters' garden in late spring once the danger of frost has passed. The corn can be planted any time after the night temperatures are in the 50ºF range, but no later than June. Choose a site that has direct sunshine for most of the day (6-8 hours) and access to water.
Can you plant Three Sisters in rows?
How to Plant the Three Sisters. There are variations to the Three Sisters method, but the idea is to plant the sisters in clusters on low, wide mounds rather than in a traditional single row.
Books mentioned:
Seed to Seed: Seed Saving and Growing Techniques for Vegetable Gardeners, 2nd Edition: Ashworth, Suzanne, Cavagnaro, David, Whealy, Kent: 8601419428564: Purchase on Amazon: https://www.amazon.com/dp/1882424581/?tag=doublehappi02-20
The Year-Round Vegetable Garden for Beginners: A Simple No-Dig Guide to a High-Yield Organic Harvest. Master Raised Beds, Companion Planting, Pest Control and Grow Fresh Food for Your Family All Year: Greenfield, Benjamin: 9781916825215: Purchase on Amazon: https://www.amazon.com/dp/1916825214/?tag=doublehappi02-20
10 Plant Growing Trays (No Drain Holes) - 20" x 10" - Perfect Garden Seed Starter Grow Trays: for Seedlings, Indoor Gardening, Growing Microgreens, Wheatgrass & More - Soil or Hydroponic : Plant Germination Trays : Patio, Lawn & Garden Purchase on Amazon: https://www.amazon.com/dp/B0058PTK6M/?tag=doublehappi02-20
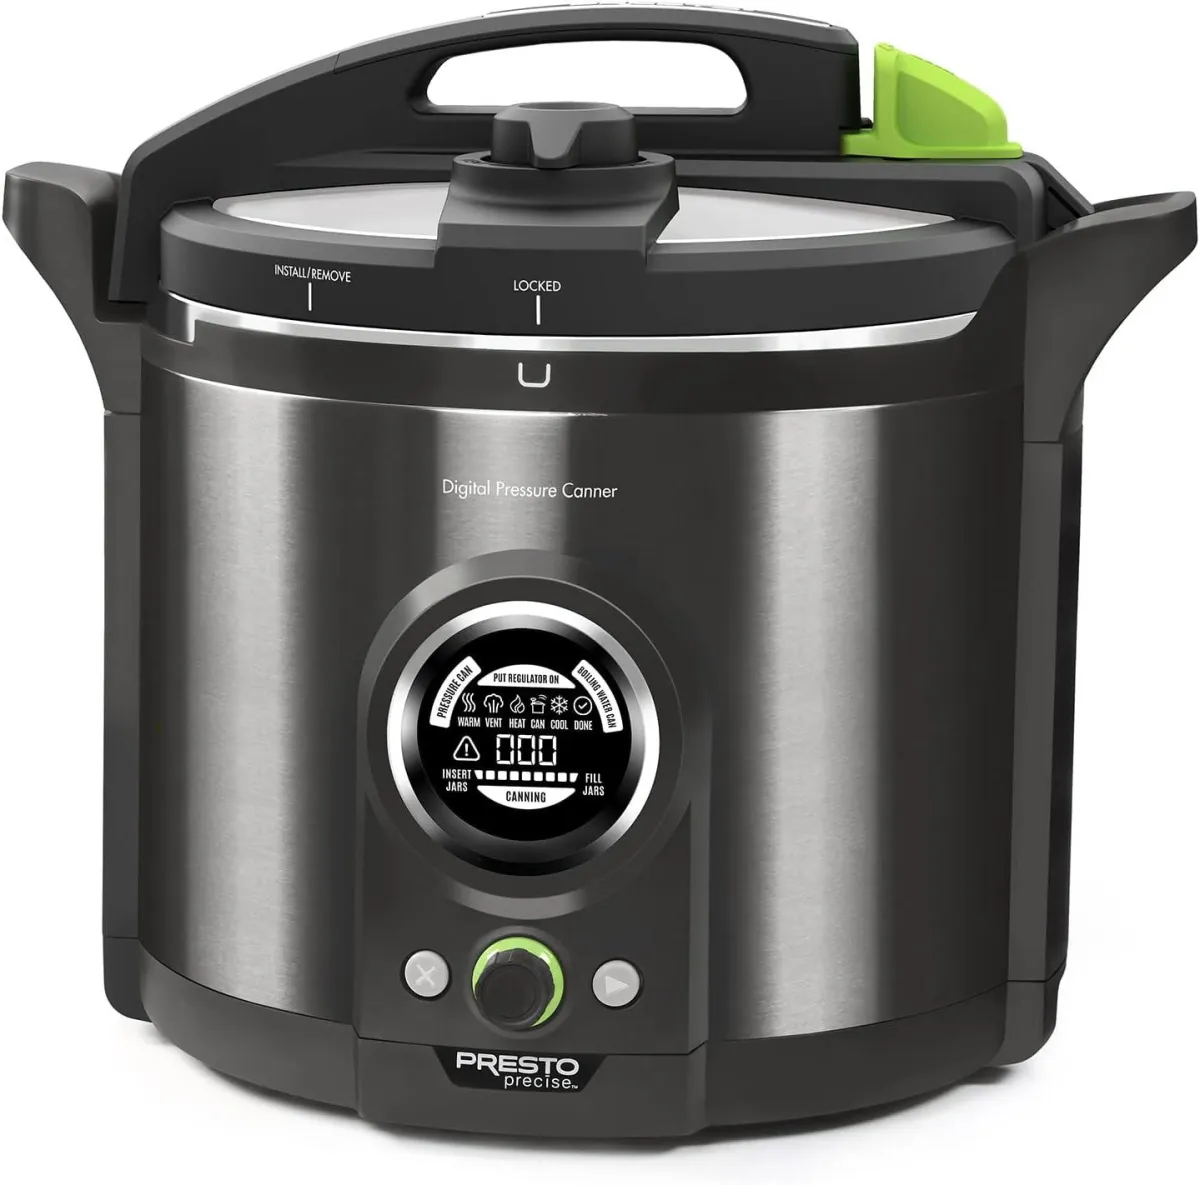
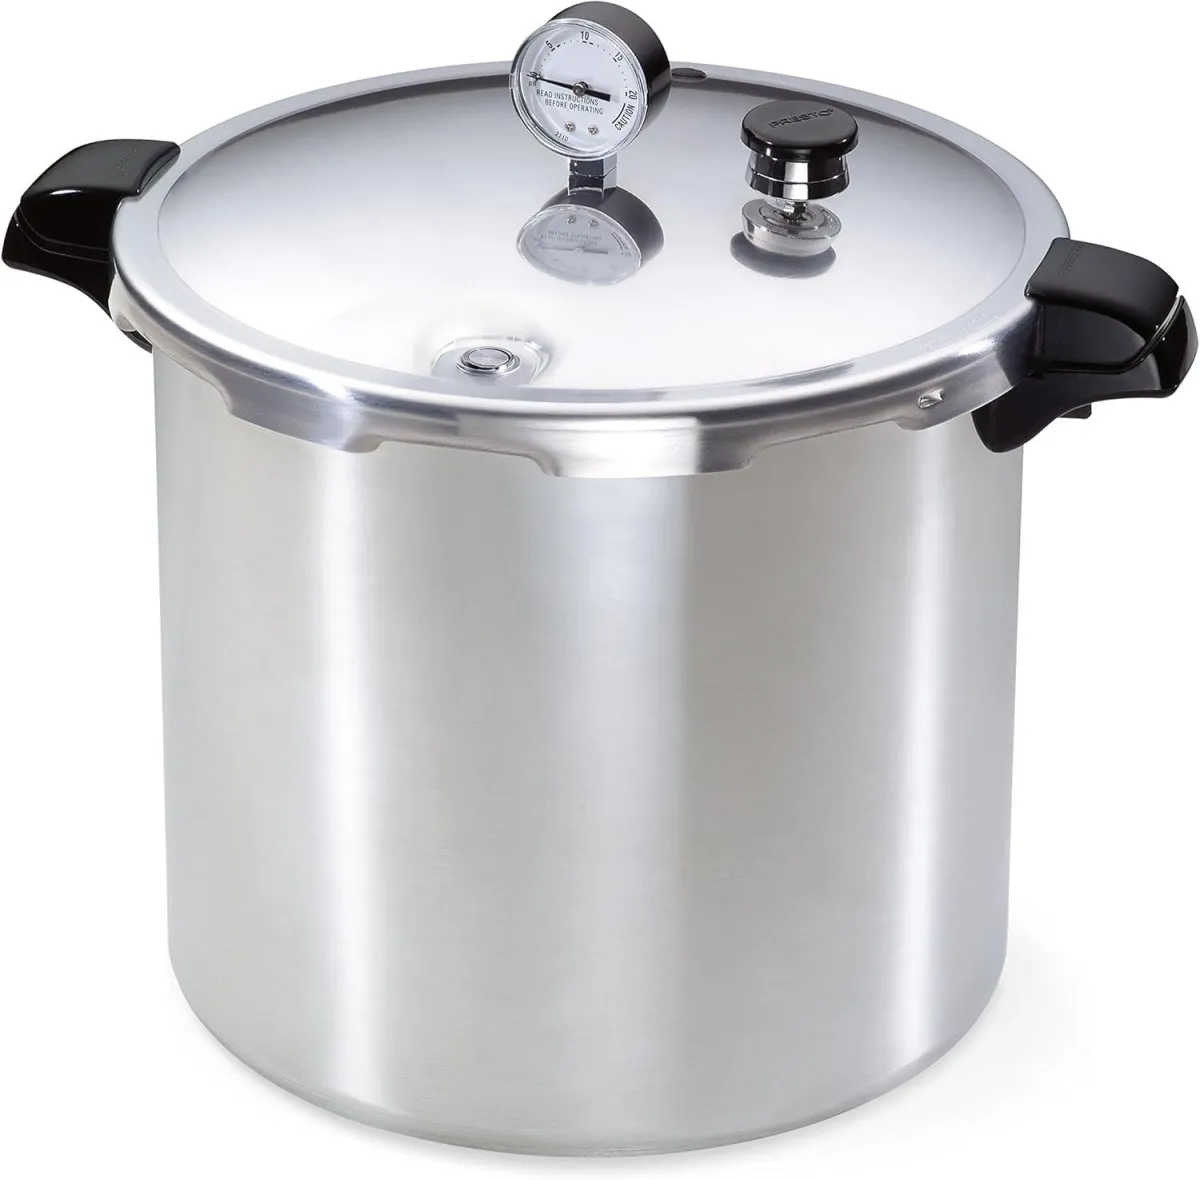
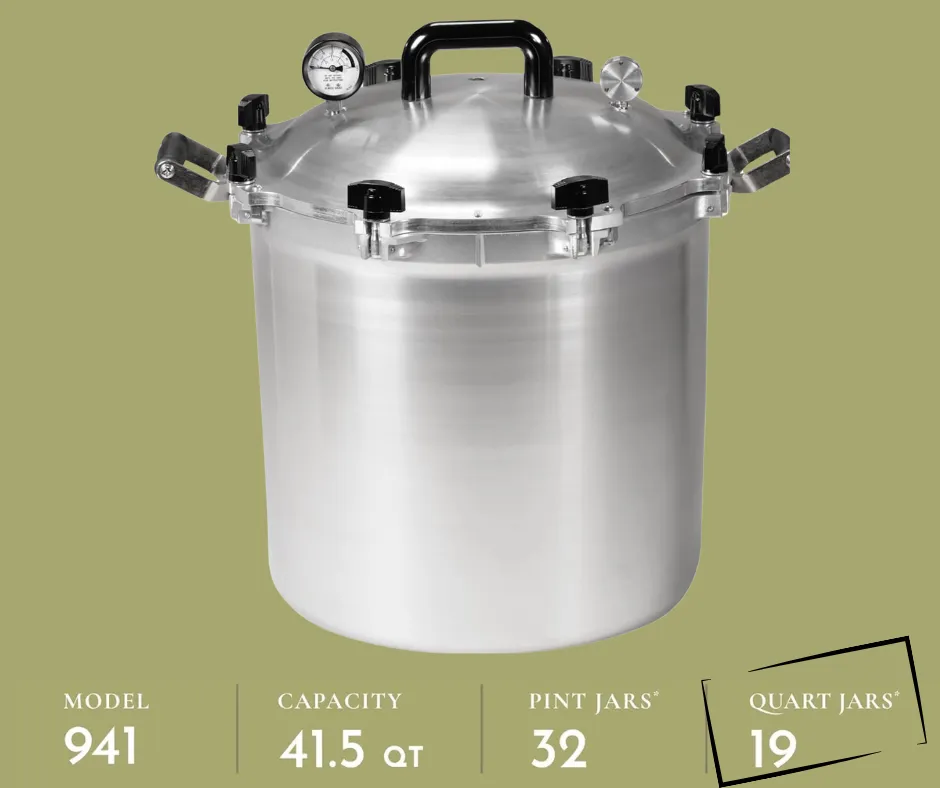
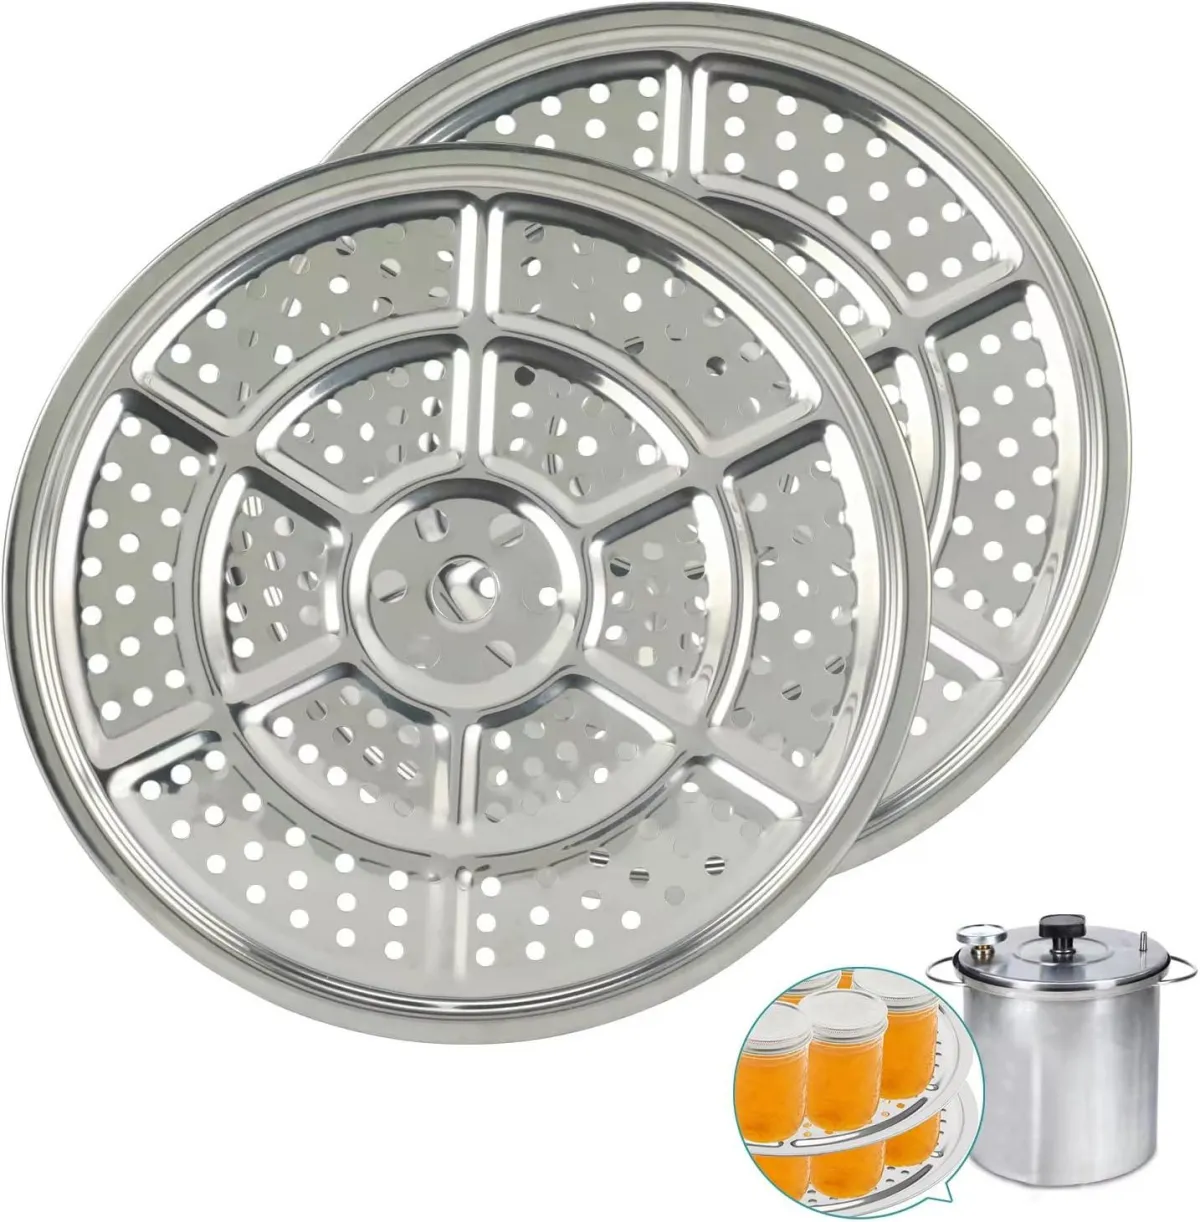
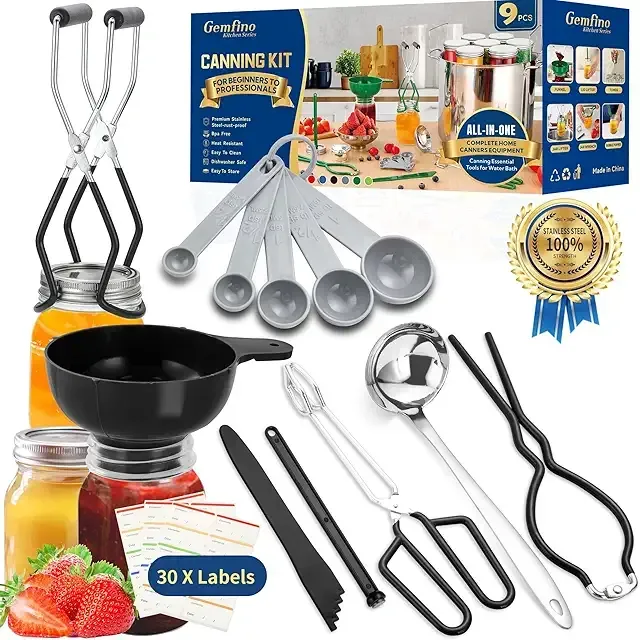
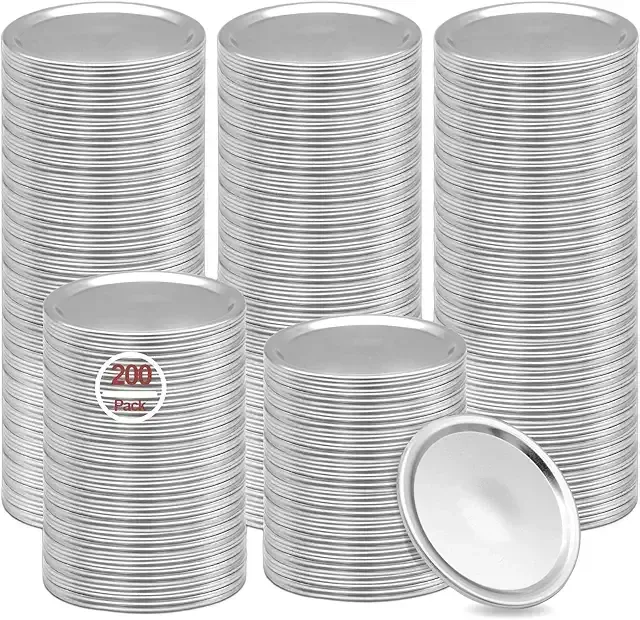
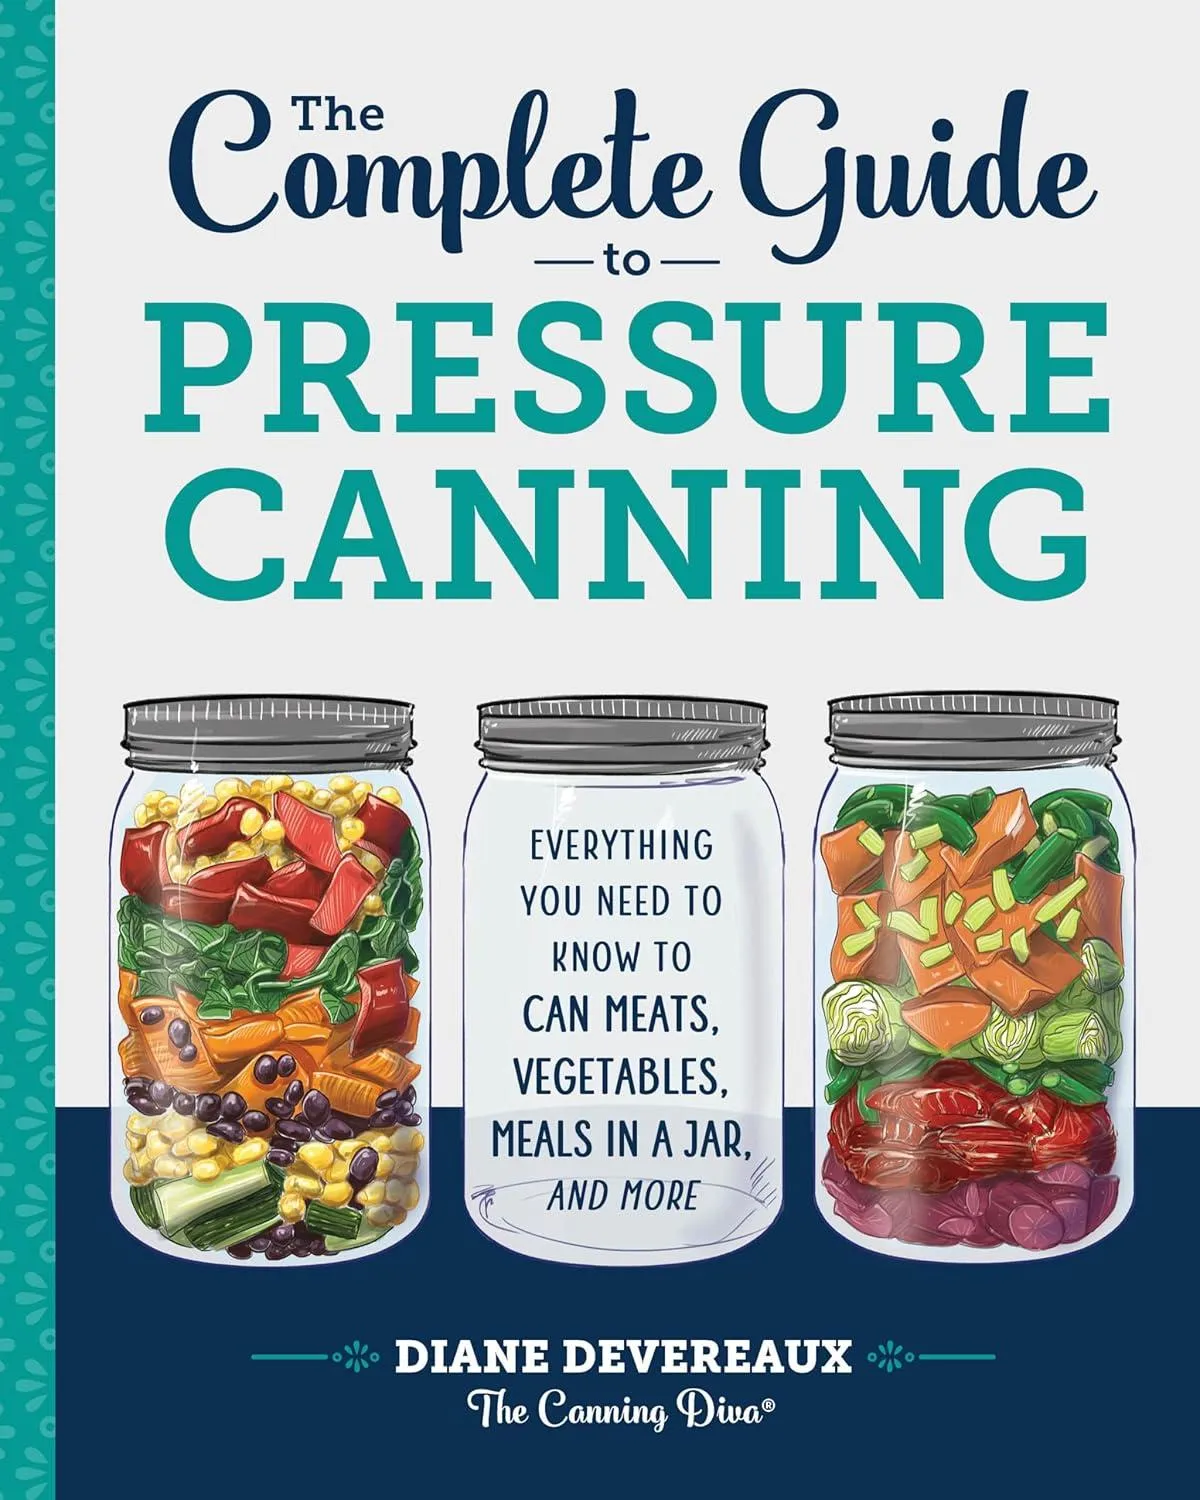
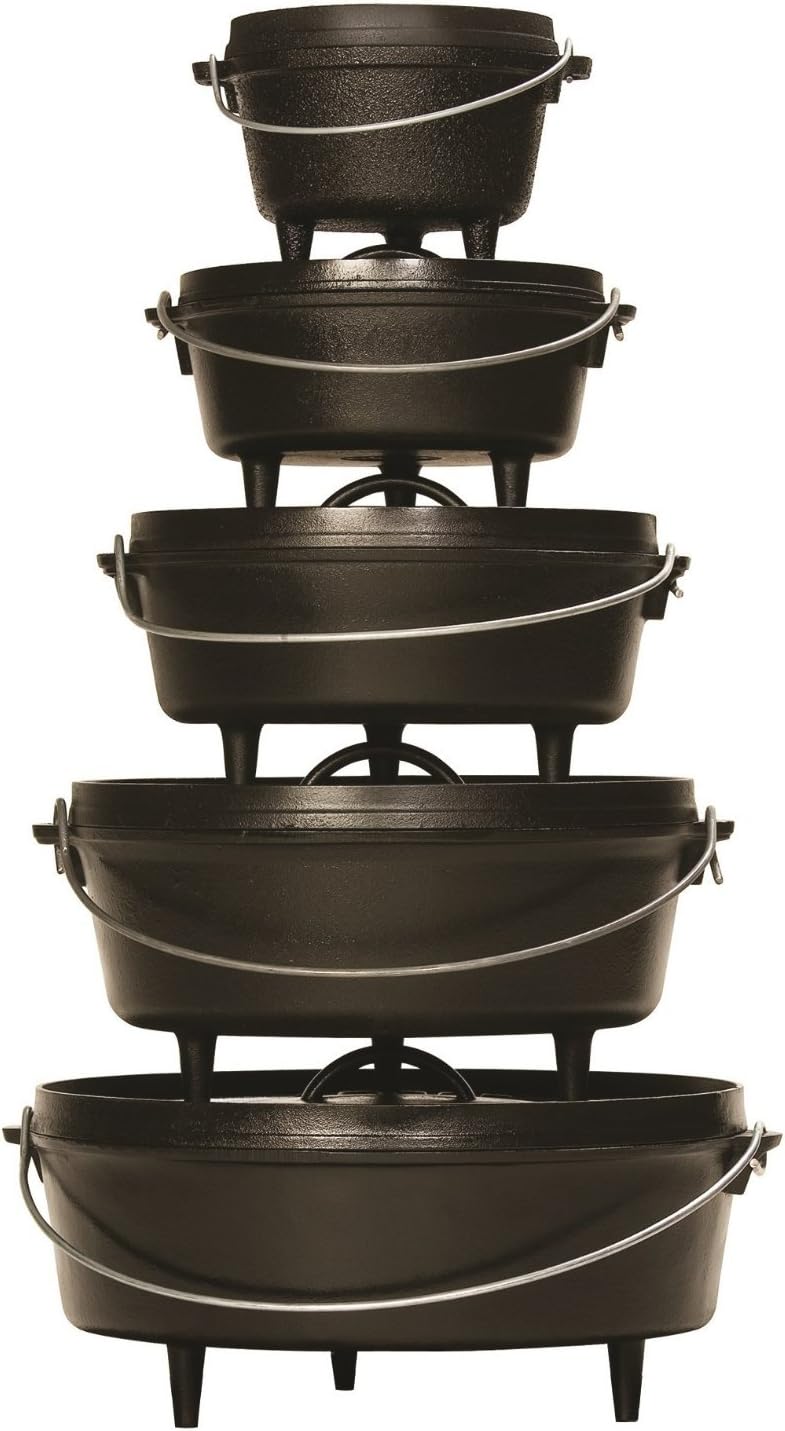
September 23, 2025 - Fall Canning
September 2, 2025 - Resources from The Hornet's Nest Net Contains affiliate links. The net may receive a small commission if you buy from these links - all commissions go to support The Hornet's Nest Net
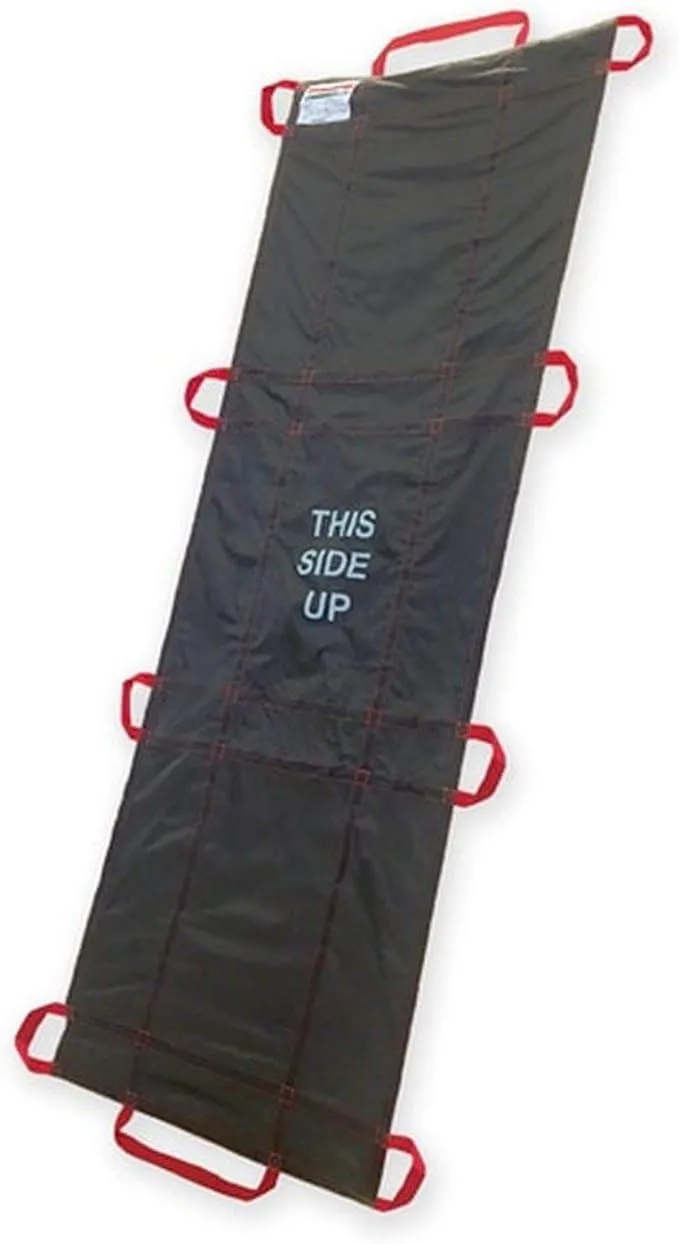
Rescue Essentials Brand Public Access QuikLitter, Red Nylon Handles, Non-Woven Fabric, 500 Lb Rated, Low Cost, Disposable for Patient Transfer, Casualty Evacuation
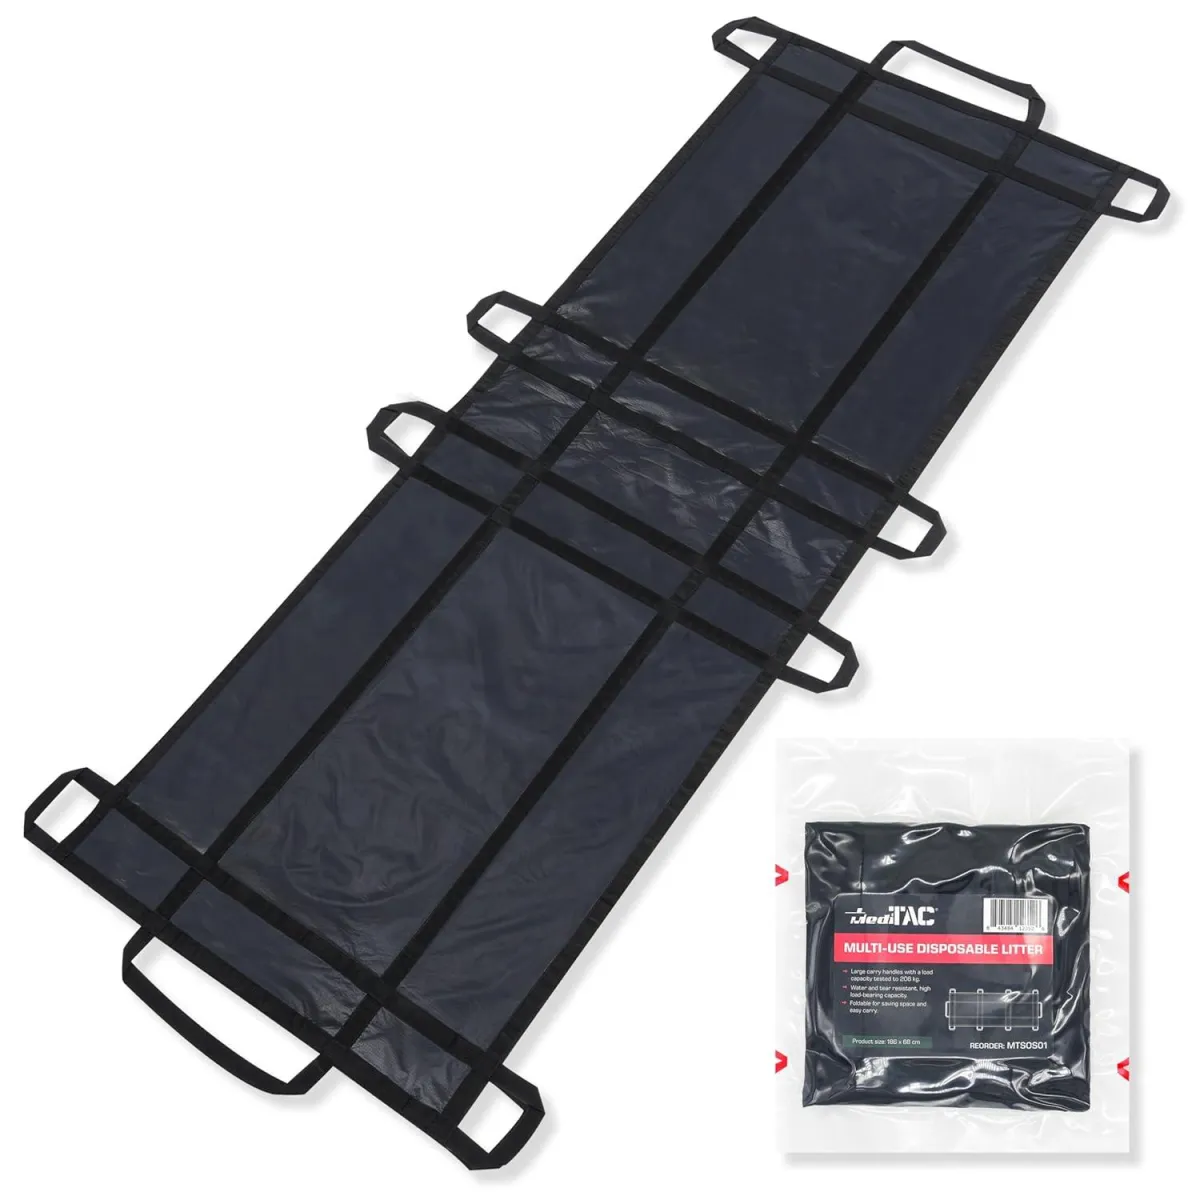
MediTac Litter, Latex-Free Black Nylon Handles & Durable Non-Woven Fabric,
750 Lb Weight Capacity
for Efficient Patient Transport & Casualty Evacuation
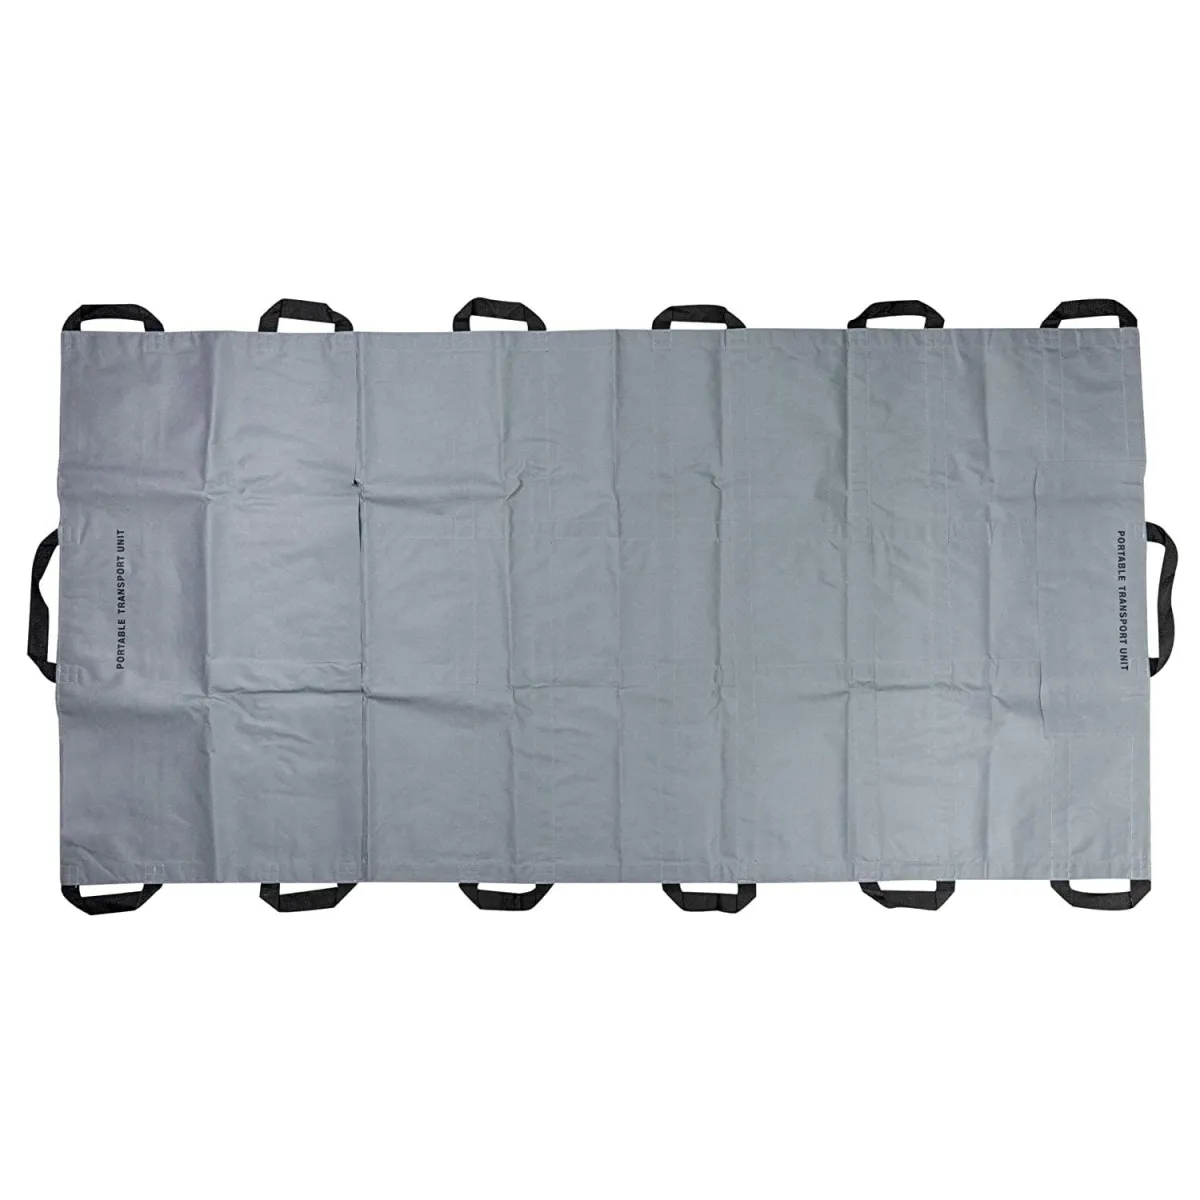
LINE2 Design
Portable Patient Transport Unit - Lightweight EMS Stretcher with 14 Handles, Supports up to 1500 lbs.

North American Rescue C-A-T Combat Application Tourniquet (Black) NAR Genuine Gen 7 CAT Gray Time-Stamped Military Issued
August 26, 2025 - Resources from The Hornet's Nest Net
Click for access: Stop the Bleed Online Course
Click to search for in person class: Stop the Bleed
Click to Download: The Survival Medicine Handbook: A guide for when help is NOT on the way
Click to Download: Where There Is No Doctor - David Werner
Click to Download: Aerie Wilderness Medicine 15th Edition
Click to buy on Amazon: Special Operations Forces Medical Handbook: Department of Defense
May 13, 2025 - Sanitation pt 1 Download Calcium Hypochlorite Concentrations Worksheet HERE
May 6, 2025 - Emergency Frequencies Download Call and Emergency Frequencies PDF HERE
April 22, 2025 -
Grid Down Nutritional Needs
Download Episode 33 Notes HERE
Download Essential Survival Nutrition PDF HERE
The Hornet’s Nest Net Episode 33 Nutritional Needs
Daily Energy Needs - Calories:
Baseline (sedentary): 2,000–2,500 kcal/day
Active (physical labor): 2,500–3,500+ kcal/day
Cold weather/extreme conditions: Up to 4,000+ kcal/day
The World Health Organization (WHO) has a standardized formula for
Oral Rehydration Solution (ORS) designed to treat dehydration from diarrhea,
heat stress, and other causes—ideal for grid-down, field, or off-grid use.
✅ WHO ORS Formula (Per 1 Liter of Clean Water)
Ingredient - Amount
Table Salt (NaCl) 2.6 grams (~½ tsp)
Baking Soda (optional version) 2.5 grams (~½ tsp)
Trisodium Citrate (preferred) 2.9 grams
Potassium Chloride (KCl) 1.5 grams (~⅓ tsp)
Glucose (sugar) 13.5 grams (~6 tsp)
Clean Water 1 liter (33.8 oz)
🔬 Why It Works
Sodium & potassium: Replaces lost electrolytes
Glucose: Helps absorption of electrolytes via the sodium-glucose co-transport mechanism
Citrate or bicarbonate: Helps correct acidosis from dehydration
🧂 Field-Ready Homemade Version (Simplified)
If you don’t have lab-grade ingredients:
½ tsp salt
6 tsp sugar
1 liter (quart) of clean drinking water
½ tsp baking soda or a splash of orange juice/banana (for potassium if available)